The secret to a truly beautiful paint job is not just good paint or skilled painters. It is preparation. A properly prepared surface holds paint better, looks smoother, and lasts far longer. Whether you are hiring a professional or doing the work yourself, this checklist will help you get your home ready before the first brush touches the wall.
Why Preparation Matters
When a homeowner calls to ask why their last paint job is already peeling after two years, the answer is almost always the same: the preparation was rushed or skipped. Paint applied over dirty, damp, or damaged surfaces will fail early, no matter how expensive the paint was. The finish you see is only as good as the work hidden underneath it.
This is why a careful painter spends real time on prep. It is not the glamorous part of the job, but it is the part that decides whether the result lasts a few years or a full decade.
The Room Preparation Checklist
1. Clear the Room
Remove all furniture, or move it to the center of the room and cover it with drop cloths. Take down wall art, mirrors, picture hooks, and shelves. Remove switch plates and outlet covers, keeping the screws with each cover so nothing gets lost. Take down curtains and curtain rods. The more open and accessible the room, the faster and cleaner the work goes.
2. Clean the Walls
This step gets skipped often, and it should not be. Dirty or greasy surfaces stop paint from bonding. Wipe down all walls with a damp cloth to remove dust. In kitchens and bathrooms, wash the walls with a degreaser, since a degreasing cleaner cuts through residue a damp cloth cannot. Let the walls dry completely before any paint goes on.
3. Repair the Damage
Fill nail holes with spackling compound, let it dry, and sand it smooth. Larger holes and cracks need proper patching. Scrape away any loose or peeling paint and sand the edges so they feather into the surrounding surface. Caulk gaps around trim, windows, and door frames, which is a small step that makes the finished room look crisp and professional.
4. Sand and Prime
Lightly sand glossy surfaces so the new paint has something to grip. Apply primer over patches, stains, and any bare drywall. Use a stain-blocking primer on water stains, smoke damage, or any time you are covering a dark color with a lighter one, since these will bleed through ordinary paint without it.
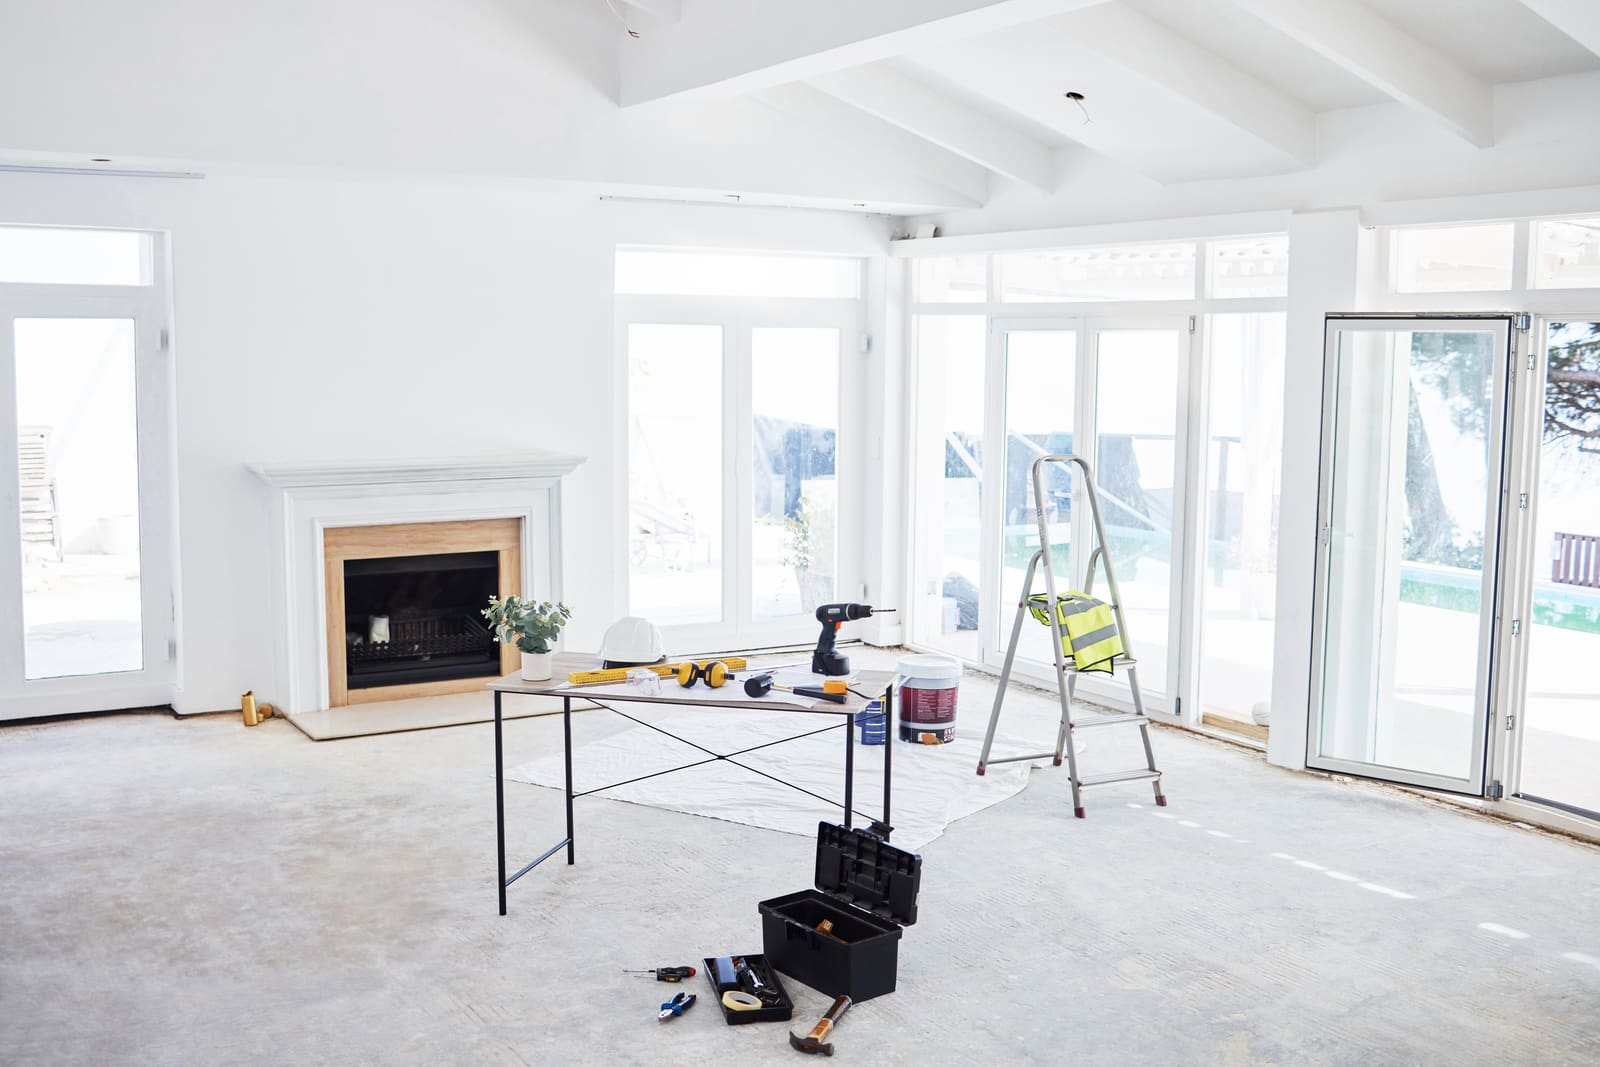
5. Protect What Is Not Being Painted
Apply painter’s tape along trim, ceilings, and baseboards. Lay drop cloths over the entire floor, not just the area near the wall. Cover door hardware, vents, and anything else you do not want speckled with paint. Thorough masking is what keeps the job clean.
6. Plan for Ventilation
Open windows and doors during and after painting so fumes can escape. If you are painting in colder months, use fans to keep air moving. Keep the room ventilated until the paint is fully dry and the smell has cleared.
Room-Specific Preparation Tips
Kitchen. Pay special attention to degreasing. Kitchen walls build up a film of cooking grease that is nearly invisible but will cause paint to peel if it is not removed. A degreasing cleaner is essential here.
Bathroom. Check for mold and mildew. Treat any dark spots and let them dry fully before painting, and plan to use a moisture-resistant paint suited to the room.
Living rooms and bedrooms. These rooms are usually straightforward, but look for water stains from old leaks. Always seal stains with a stain-blocking primer first, or they will ghost through the new color.
Ceilings. The most overlooked prep step is cleaning the ceiling. Dust, cobwebs, and residue all affect adhesion, so a ceiling needs the same attention as the walls.
Preparing Your Household, Not Just the Walls
Prep is not only about the walls. A smoother project also means getting your household ready.
Make a plan for pets and young children, who should be kept clear of work areas and freshly painted rooms. Decide where everyday items will live while a room is out of use, so daily life keeps moving. Move valuables and fragile items out of the work zone entirely rather than just covering them. If you are having several rooms done, talk through the order with your painter so the most-used spaces are returned to you first. A little planning here removes most of the stress from a painting project.
What a Professional Handles for You
When you hire a professional, the entire checklist above becomes their responsibility. A good crew protects your floors and furniture, cleans and repairs surfaces, masks everything precisely, primes correctly, and cleans up completely at the end. They also know how to spot problems an untrained eye misses, such as a hairline crack that signals a deeper issue or a stain that needs a specific primer.
Your part becomes much smaller: clear personal items, point out any known problem areas, and make a plan for pets and kids. The heavy preparation, the part that actually determines how the job turns out, is handled for you.
Frequently Asked Questions
Do I need to wash my walls before painting? Yes. Dust and especially kitchen grease prevent paint from bonding. Clean walls are one of the simplest ways to make a paint job last.
Should I move all my furniture out of the room? If you can, yes. If not, move everything to the center and cover it well. A clear room is faster to paint and lowers the risk of accidental drips.
What is primer for, and do I always need it? Primer helps paint bond and blocks stains and old colors from showing through. It is essential over patches, repairs, bare drywall, stains, and dramatic color changes.
How far ahead should I prepare for a professional painting job? A day or two is usually enough to clear personal items and plan around pets and kids. Your painter handles the surface preparation itself.
Final Thoughts
Preparation is not the exciting part of painting, but it is the part that decides the outcome. Clean surfaces, careful repairs, the right primer, and thorough masking are what turn a good paint job into a great one that lasts.
At Magic Painting LLC, our process always begins with thorough preparation. We patch, prime, caulk, and sand before the first coat goes on, because preparation is half of the final result. Contact us for a free estimate and let us handle everything from prep to final coat.